Saturday 22 February 2014

Grow a mango plant from seed

Another lovely plant to able to grow from seed is mango, a fruit which I love to eat and buy often. Its seed is not as easy to extract the avocado but despite that, I think it's worth the extra work and at the moment is my favourite house plant. Here are the steps I take.

 1. Eat all the flesh of the mango and keep the seed, or so I thought it was until recently, I found out it was the husk.

2. With a sharp thin knife, wedge it in the side, usually nearer the top stem is softer and easier to get into and pry the husk open. Inside you will find the seed! (Please take extra care with this step. Take your time and hold the knife away from you.)

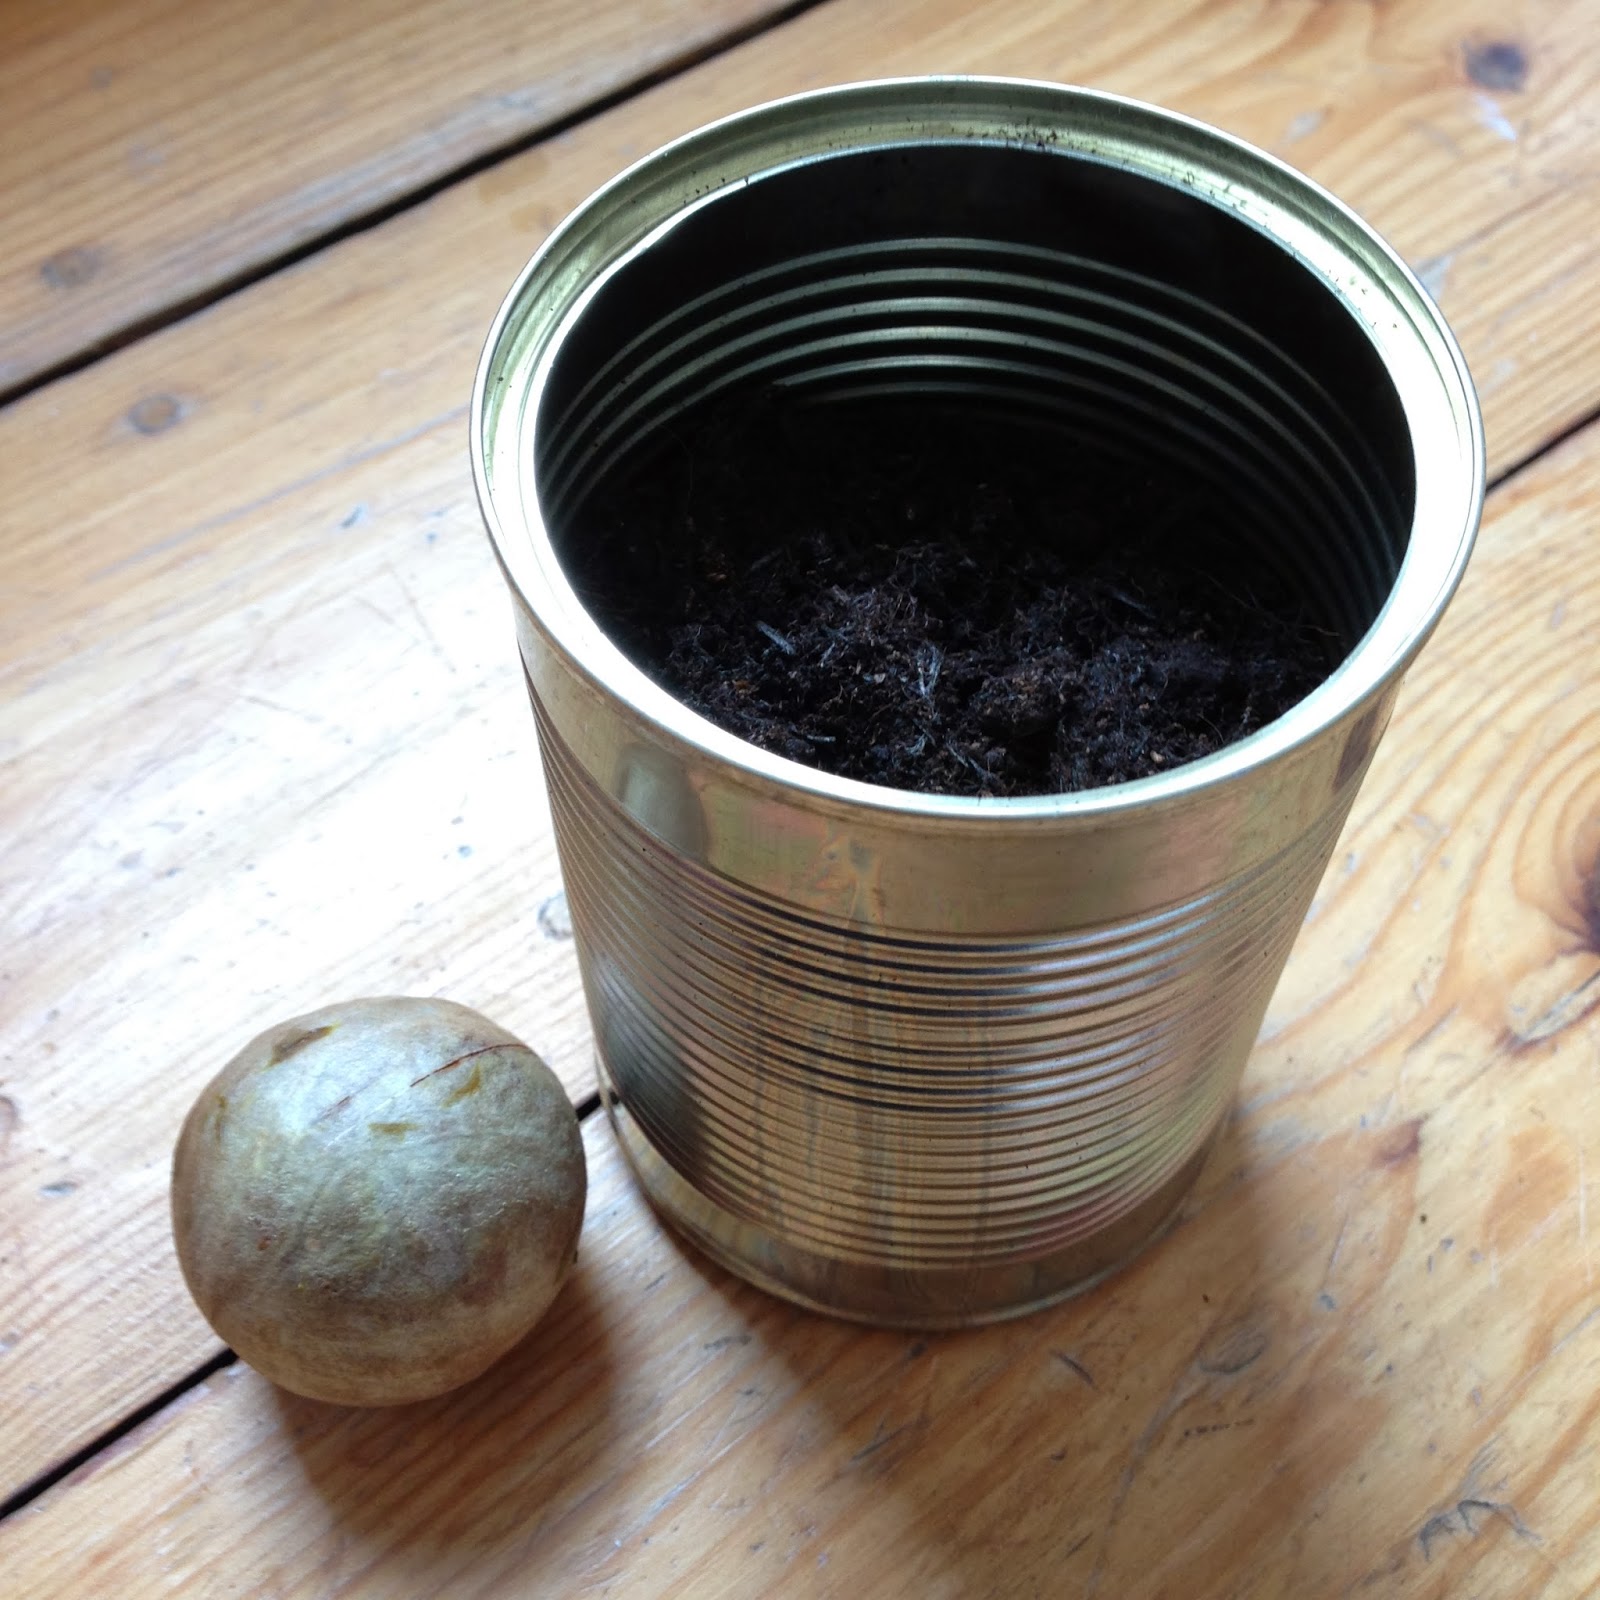
3. Take the seed out, fill a pot (or my usual container of choice, a used tin) with compost, pop the seed in and cover over with more compost. Water regularly and place in a warm spot.

4. In a month or so you should see a shoot with a few small leaves popping out of the soil.

And there is the start of a beautiful and free houseplant!


These are three mango plants I planted last year. They look very different even though they are about the same age but all look very healthy with thick glossy leaves, and new leaves have a lovely red tinge to them. They also have the fragrant smell of mango when rubbed!


Yogurt Scones

We made some scones  today from the recipe we usually use from a lovely book we have Short & Sweet by Dan Lepard. As usual, we amended the recipe just a little to use the ingredients we have in our larder.


Ingredients

  • 200g plain flour
  • 50g wholemeal/buckwheat flour
  • 2 1/2 tsp baking powder 
  • 3 tbsp sugar
  • 40g unsalted butter
  • 100g raisins
  • 1 egg
  • 75g plain yogurt
  • 2 tbsp of milk (for brushing)


Method

  • Preheat oven to 220°C/200°C fan.
  • In a bowl rub the flour, baking powder, sugar and butter with your fingertips into crumbs.
  • Add the raisins.
  • Beat the egg and yogurt together and stir in the flour.
  • Combine to a firm ball of dough and knead lightly for 10 seconds.
  • Flour the work surface, roll or press out to 4cm thick.
  • Cut into 4cm squares so you have a cube.
  • Place on non-stick baking paper, brush with milk, and place in oven.
  • Bake for 15-20 minutes until risen.

Saturday 15 February 2014

Growing avocado from seed - without toothpicks!

I started experimenting with growing avocados from seed about 4 years ago when I was tired of spending money buying houseplants that would die after a few months. I had a few pots filled with soil so after doing a bit of research of what was easy to grow from seed, of the fruit and vegetables I regularly purchase, avocados were at the top of the list.

I started with the toothpick method (sticking toothpicks in the seed to enable the bottom half to sit in water) and never had any success with it so researched other methods. This one proved the simplest and most successful one so I have stuck with it ever since.  

1. Cut a fresh ripe avocado, remove the seed and wash any flesh off it. Some people leave it for a few days to dry out but I don't think it makes a difference to use it straight away.

 2. Get a small pot, or I usually reuse my tin cans and make a few holes at the bottom for drainage with a nail and hammer. But put it on a surface/draining dish that you would mind getting rust ring marks on.

3. Fill the container with soil.

4. Pop the seed, root side down (if the root is not obvious, it will be the bigger end of the seed). Fill with more compost until the seed is fully covered.

5.  Keep well watered and hopefully, a young seedling will emerge in a 1-2 months.


Some end up quite bushy with lots of leaves.

If they lack light they can grow quite leggy which I think they can look good in a shallow pot.

Good luck with growing your avocados from seed.

Saturday 8 February 2014

Sourdough bread and butter pudding

We make bread almost every week and sometimes we don't finish it all before the next fresh load arrives so we sometimes do toss little ends away - which is such a waste! We did previously whizzed them into breadcrumbs but ended up not using them for months. But one day, wanting a slight change from our family favourite Apple crumble, we thought, why not try a bread and butter pudding since we did have quite a bit of bread to finish up.

We never did make it before because we always had in mind it was quite a heavy dessert, needing a lot of ingredients which we would normally want to use in our other dishes. Most recipes used quite a few eggs and we only had one we had to do a good hunt but we found a good simple one in the end! Which was anothergood thing because I never like using too many eggs in a dessert as I prefer to save them for my savoury dishes.

A serving of bread and butter pudding with a side of yogurt

As usual we adapted the original recipe just a little.

Ingredients

  • 300-400g of stale sourdough bread, sliced
  • 275ml milk
  • 55g butter, melted
  • 55g soft brown sugar
  • 1 egg
  • 1 teaspoon cinnamon
  • a handful of raisins
  • 1 apple, sliced or grated

Method

  • Preheat oven to 180C.
  • Sprinkle some raisins at the bottom of your tray. Place the sliced bread over the top to make a layer. Repeat this process to make at least 2 layers. If using sliced apple, distribute the slices.between the layers as well. Try not to have the fruit on the top as it will burn more easily.
  • Mix all the other ingredients in a bowl. If using grated apple, this can be incorporated here as well.
  • Pour the mixture over the bread and fruit.
  • Pouring in the wet mixture
  • Leave to soak for about 30 minutes.
  • Place in the oven and bake for about 45 minutes until the top is crispy and dark brown.
  • Serve whilst hot.

Sunday 2 February 2014

DIY Plant Propagator (Year 2)

Last year was my first year of vegetable planting made possible because we moved to a flat with some outside space, but I started late as we moved in March and only managed to start sowing seeds in April. This year, I was determined to start as early as possible. So after the compost delivery arrived, I got to work popping them into green seed trays that I bought. Felt a bit guilty buying them since last year I was good and made little newspaper pots. But this year, due to wanting to get some produce earlier, I'm taking a shortcut.

Compost in seed trays
Still used the muji boxes that I used last year and I total love using them as I can stack them and shift them around following the sun to get as much light and heat to start up those seeds.  

Muji propagator boxes 

Here a few seedings doing well after a couple of weeks after.


Mixed salad seedlings


Cucumber, courgettes, french bean and tomato seedlings
Pea seedlings