Showing posts with label diy. Show all posts

Friday, 11 April 2014

How to save tomato seeds

I never bought tomato seeds (nor pepper/chilli) to grow because they are so easy to obtain from the actual fruit. Heirloom tomatoes can be very expensive to buy, so whenever I do buy them, I take the time to save their seeds. It's not as straight forward as chilli or pepper seeds which you can just knock out and leave to dry overnight, but it's not much harder. This is how I go about it.

When you have a nice specimen of tomato that you like (this one is a marmande tomato) remember to save its seeds before cooking or eating it which I have often forgotten!

Slice it down the middle and you should see its seeds. 

You don't have to remove all the seeds, just enough to plant, keep, or give to friends. Put in a glass/cup/jar and fill with water.

Some say to cover with cling film and leave for a few days until mould forms on the top but I didn't like dealing with smelly mouldy water so I leave it uncovered, and change the water every day. But before changing the water, I give it a bit of a stir so any tomato pulp loosens, tip out the old water, with the floating pulp, and add fresh water. Sometimes I do it two or three times if there is a lot of pulp. After about 3-5 days when the seeds look free of most pulp, give it a final good rinse, pour as much water away and take out the seeds.

I found the best place to dry them is on a large ceramic plate spread out as much as possible for quick drying. If there is a lot of water, you can raise one corner slightly so the water drains to one end and soak it up with a kitchen towel. Once the seeds are fully dried, which can take up to a week, they might stick to the plate but are easy to remove by "scratching" them off. (Which is why it is not advisable to dry them on paper like I learnt the hard way!) 

Store your seeds in a dry place, labelled nicely in a paper envelope or jar ready for the next planting season.

Friday, 7 March 2014

Free and simple garden planner

I've been wanting to bit a bit more organised with my terrace garden space and thought of drawing out what I should plant and rearranging the space as it has been neglected since the end of autumn. I was going to use Photoshop (my usual program for most artwork) but decided to look to see if I could find something online that was free, required no sign ups or downloads, and was far quicker than I could do using my existing artwork program.

And I found this ideal Garden Planner relatively quickly! I highly recommend it if you are thinking of drawing out any garden plans. It's pretty straight forward to use, just select the item you want, drag and drop it to your design board, adjust the width/height/colour to your liking, and keep going until it's all done. 


Saturday, 22 February 2014

Grow a mango plant from seed

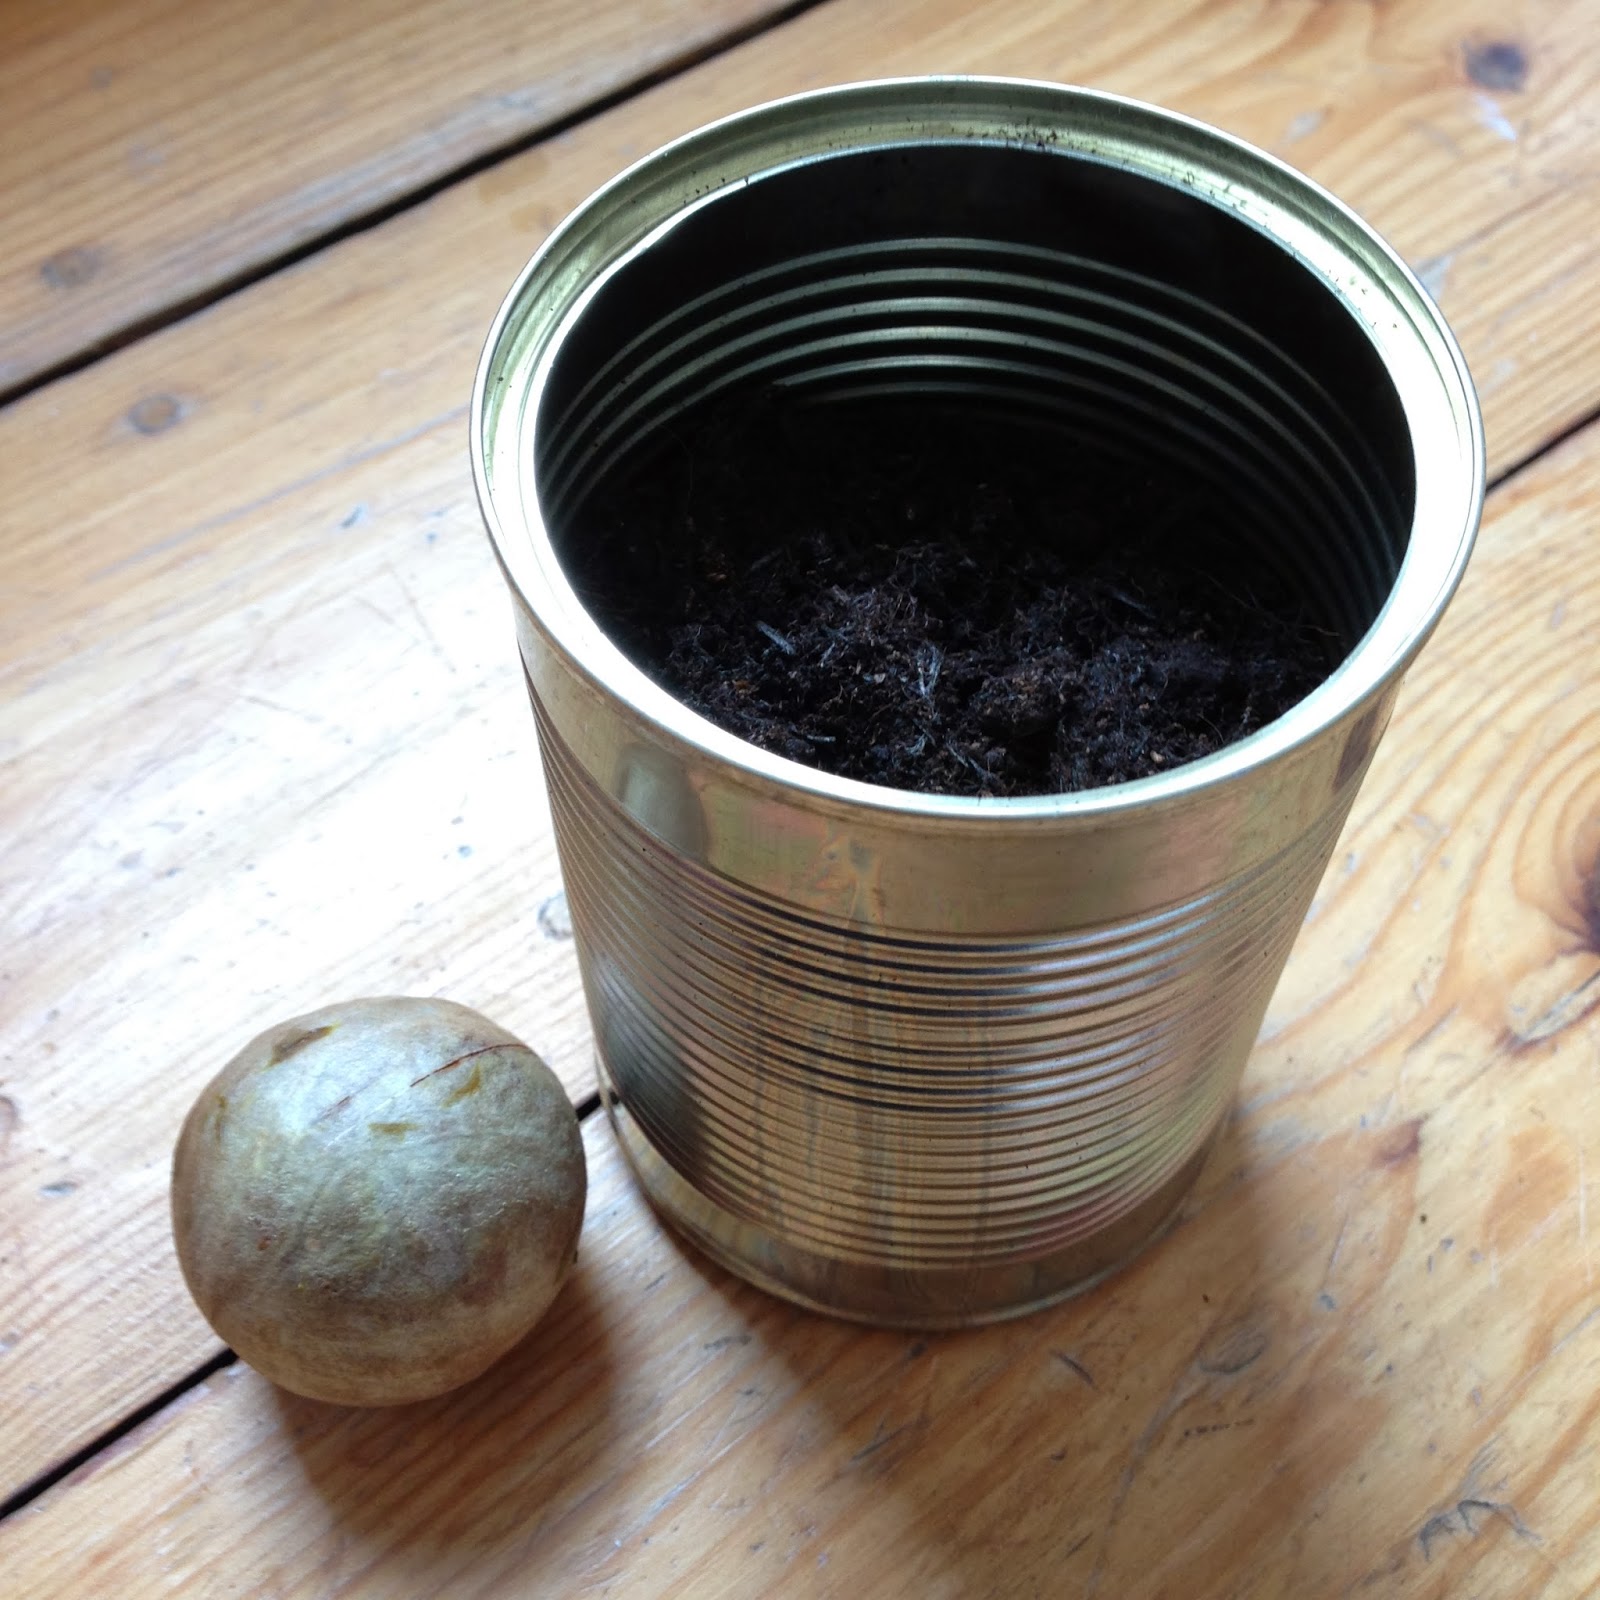
Another lovely plant to able to grow from seed is mango, a fruit which I love to eat and buy often. Its seed is not as easy to extract the avocado but despite that, I think it's worth the extra work and at the moment is my favourite house plant. Here are the steps I take.

 1. Eat all the flesh of the mango and keep the seed, or so I thought it was until recently, I found out it was the husk.

2. With a sharp thin knife, wedge it in the side, usually nearer the top stem is softer and easier to get into and pry the husk open. Inside you will find the seed! (Please take extra care with this step. Take your time and hold the knife away from you.)

3. Take the seed out, fill a pot (or my usual container of choice, a used tin) with compost, pop the seed in and cover over with more compost. Water regularly and place in a warm spot.

4. In a month or so you should see a shoot with a few small leaves popping out of the soil.

And there is the start of a beautiful and free houseplant!


These are three mango plants I planted last year. They look very different even though they are about the same age but all look very healthy with thick glossy leaves, and new leaves have a lovely red tinge to them. They also have the fragrant smell of mango when rubbed!


Saturday, 15 February 2014

Growing avocado from seed - without toothpicks!

I started experimenting with growing avocados from seed about 4 years ago when I was tired of spending money buying houseplants that would die after a few months. I had a few pots filled with soil so after doing a bit of research of what was easy to grow from seed, of the fruit and vegetables I regularly purchase, avocados were at the top of the list.

I started with the toothpick method (sticking toothpicks in the seed to enable the bottom half to sit in water) and never had any success with it so researched other methods. This one proved the simplest and most successful one so I have stuck with it ever since.  

1. Cut a fresh ripe avocado, remove the seed and wash any flesh off it. Some people leave it for a few days to dry out but I don't think it makes a difference to use it straight away.

 2. Get a small pot, or I usually reuse my tin cans and make a few holes at the bottom for drainage with a nail and hammer. But put it on a surface/draining dish that you would mind getting rust ring marks on.

3. Fill the container with soil.

4. Pop the seed, root side down (if the root is not obvious, it will be the bigger end of the seed). Fill with more compost until the seed is fully covered.

5.  Keep well watered and hopefully, a young seedling will emerge in a 1-2 months.


Some end up quite bushy with lots of leaves.

If they lack light they can grow quite leggy which I think they can look good in a shallow pot.

Good luck with growing your avocados from seed.

Sunday, 2 February 2014

DIY Plant Propagator (Year 2)

Last year was my first year of vegetable planting made possible because we moved to a flat with some outside space, but I started late as we moved in March and only managed to start sowing seeds in April. This year, I was determined to start as early as possible. So after the compost delivery arrived, I got to work popping them into green seed trays that I bought. Felt a bit guilty buying them since last year I was good and made little newspaper pots. But this year, due to wanting to get some produce earlier, I'm taking a shortcut.

Compost in seed trays
Still used the muji boxes that I used last year and I total love using them as I can stack them and shift them around following the sun to get as much light and heat to start up those seeds.  

Muji propagator boxes 

Here a few seedings doing well after a couple of weeks after.


Mixed salad seedlings


Cucumber, courgettes, french bean and tomato seedlings
Pea seedlings

Tuesday, 2 July 2013

Concrete pots

I've been looking online on how to make pots and I rather liked the look of the concrete ones so I had a go at making a couple using two yoghurt pots and a bag of concrete from my local hardware shop. Only made two so far but hopefully will have the time to make more soon. 

Basil in concrete pot
Chilli plant in concrete pot

Saturday, 22 June 2013

Salad gutters

I've been looking at ways to increase the growing space on my 20sq m roof terrace for a while now and recently added some hanging baskets on the fence. The fence is not the most stable of fences and I have been cautious not to put too much weight on it.

I've seen images of gutter gardens online and have been thinking to get some gutters one day but the neighbours doing renovations had some in their garbage pile so the scavenger in me brought of them home.

There are three off cuts in various lengths, aren't the prettiest of things but at least they are new and clean. I didn't have ends of them so I glues the lids of yoghurt pots on, painted them, made some drainage holes, then used some left over chains from the hanging baskets to secure them to the fence.

Planted some store bought lettuce along with seeds and they seem to be doing well.


First gutter finished

Sunday, 2 June 2013

Salad baskets

I brought over some hanging baskets from the old flat which I used to hang inside from the top frame of the windows. I've wanted to use them outside but there was no where to hang them from a height on the terrace the normal way so I relinked some chains to attach them to the fence. 

I planted some cut and grow lettuce that I bought from Waitrose supermarket since the salads that I was growing from seed didn't look that positive, but some did survive so I added them to the bottom baskets.


Salad in baskets


Tuesday, 21 May 2013

Recycling store bought vegetables

Since sowing certain vegetables from seed can be unpredictable, and I am determined to ensure my first season of gardening produces a small variety of edibles, I have looked to other methods of growing.

Regrowing cut vegetables is something that we came across not long ago in an article and I thought it was a fantastic way to reduce waste, get more greens and save money!

It's a very simple method at absolutely zero cost! Cut vegetables the way you usually do to cook and put the bottoms in water. 

Cut ends of pak choi, fennel, and celery

I have done it with pak choi, fennel and celery. In over a week, new shoots will start growing.

Regrown pak choi

Regrown celery

And then it's time plant them in soil. 
(The fennel is still slowing growing but not yet photo worthy)


Related Posts

Thursday, 16 May 2013

Drying rosemary


My rosemary plant is looking nice and healthy with lots of lilac flowers so I've decided to give it a little prune and dry some rosemary.
Rosemary plant

After giving them a good rinse, I tried to use the excess heat of the oven after cooking over a few days to dry my herbs.

Rosemary on baking sheet
I read that rosemary loses its flavour if dried too quickly so if oven drying it, it needs to be at around 60-80C, and turned once a while to even out the drying process.  But I was impatient and put them in whilst the oven was too hot and my first batch came out too dark.

So picked a second lot... 
Freshly picked rosemary
And this time decided to use the old fashion method of air drying them hanging them they upside down using my handy clothes peg device.

Air dried rosemary


After about 2 weeks, I began stripping them off the bark and took out any brown bits leaving just the green leaves and violet flowers which I thought looked very pretty.

Sorting out the dried rosemary bits
I then made origami packets and gave them away to some friends.

Origami packets

Monday, 6 May 2013

Homemade tabasco

I do love a few dashes of tabasco on pizza and pasta and have always been curious on how it's made. I was planning to make some if my chilli plants are successful later in the season but since my friend left some chillies at mine, I decided to experiment. Looking at a few recipes online, I didn't have enough ingredients to follow any of them exactly so I improvised.

I took the 4 large chillies that were left, cut them into chunks, about 1/2 cup of cider vinegar, and 1/2 a teaspoon of salt, all in a saucepan and simmered for about 5 minutes. Then put them in a blender, blitzed and poured it into a bottle where it will sit in the fridge for 3 weeks or more. Shop bought tabasco has a distinct taste from fermenting for years in barrels so I'm extremely curious how mine will taste!

My tabasco experiment

Thursday, 2 May 2013

Rooting lavender mint and melissa cuttings in water

I took some cuttings from our family's garden in Portugal and rooted them in water when we got back about 3 weeks ago. 


Rooted cuttings

The parsley cuttings completely didn't survive but the lavender mint and melissa have rooted nicely (apart from one) and I have repotted them and hopefully they will be able to flourish in their new environment.

Lavender mint

Melissa

Wednesday, 1 May 2013

Planter boxes from old shelves

We have a small plot on our flat roof to grow our greens and since it's a terrace, we have to grow in containers.

The previous owners have done a fantastic job on it and left us a few nice plants. But of course we want to grow more and have planned this even before we moved by keeping some of our old shelving units to make into planter boxes. 

Our old shelves in pieces

I have resisted buying any additional pots or grow bags until the planters are made, to ensure I don't buy anything unnecessary.

Finally we had some time to get started and this is what we have made so far. 

First planter box


Wednesday, 17 April 2013

DIY propagator update

It's always a bit nerving returning back from a trip away from home. We've had a few experiences with dreaded leaks and other unwanted issues so it was a relief nothing drastic awaited us. Of course, there are always a few plants that don't survive too well and the old flat hardly got any sun so lack of water was never too much of an issue. But I should confess, I didn't do a thorough watering with the usual the rush to leave on time.

So amongst the few shrivelled plants which will maybe resurrect, I was looking forward to what I had sowed in my homemade seed propagator. 

Steamy propagators

The two boxes were filled with condensation and I was fearful everything would just be covered in mould but to my joy, there were quite a lot of seedlings emerging. So far cherry tomatoes, peas, chilli, okra, oregano.

First seedlings

A fifth of pots had a layer of mould on them but they should dry and die off in time. I'm pretty excited but not sure if I should leave the lids on or off.


Related Posts

Monday, 1 April 2013

DIY seed propagator (made with Muji boxes and newspaper)

Spring is here and I'm excited to plant all the seeds I've been collecting over the past years.  I usually put seeds straight in soil and let them grow straight from there but that was when I grew plants indoors only. Now that I'm growing them outdoors, and trying out lots of different seeds, I thought I'd better start them off indoors, especially since I'll be sowing quite a lot. Plus the weather has been pretty bad with it snowing this late in March.

I've looked online and seen quite a few propagation kits. There are quite expensive for something made just out of plastic and so I decided to make my own using things around the home.  Although most propagator use transparent lids, I thought to try using translucent boxes from Muji since I had tons of them around and thought they would also look very neat to leave around the flat. 

I have used the toilet roll method of making little pots before in my mom's garden and they work great (as long as they don't stay too wet) and I like the recycling aspect of it and that the "pots" can be put directly into the ground after germination. But I haven't collected enough so I had to think of other solution. 

Newspapers were the answer since there are many free handouts on the journey back from work. My next step was to find a good design and instructions for an origami box. After a few trials, I decided on this garbage bin origami pattern that I found here.


A finished pot

Instruction pattern

They do take a while to make so in the future, I'll make a few each night while watching telly, otherwise it gets too tedious to make them all in one go.

Folded pots, ready to be used

But I'm pretty happy with them as they look good and feel sturdy. Exactly 6 columns of 4 rows, 24 pots per box, which is quite a prefect fit so nothing tips over and there's enough space if the pots expand a little.

A good fit

They can be stacked up neatly in a corner or on a shelf. I wonder what will germinate first out of the seeds I planted.

My DIY seed propagators all stacked and potted up


Related Posts