Tuesday, 4 October 2016

How to grow a citrus tree from seed

Here's another plant I get huge satisfaction growing from seed. Not only does the plant look nice, when you brush again its leaves, it smells divine. 

I've used various citrus seeds, from satsumas, blood oranges, to lemons. Whatever I've eaten, found and saved seeds, I've planted. So you can try any citrus seed.

1. First I dry the seeds

2. Then after a day or more, I peel the top layer. This is done to enable the seedling to emerge easily as the outer layer is pretty tough.

3. Pop them in some soil, water and continue keeping the soil moist. Seedlings should appear after a few weeks.

4. Keep watering and watch them grow

Saturday, 30 August 2014

Cherry, Plum and other Heirloom Tomatoes

Tomatoes seem to be doing well again this year. Since the small cherry and plum ones did well last year, I planted many more varieties this year.


Also planted bigger varieties this year. They aren't as big as they could be since they were planted in containers (and I did push my luck by planting them close pretty together) but still, they have come out beautifully.

Thursday, 31 July 2014

July Roof Terrace Garden Update

The weather has finally started heating up giving the plants lots of sunshine and warmth. I have to water the plants much more often as well to prevent them dying.

We've had more than twice the amount of strawberries than last year but they are much smaller as well. The slugs have also been snacking on them. I'll soon have to find a more efficient way of dealing with them other than beer traps and the daily hunt, since they seem to be multiplying.


The peas were doing well and we had some good sized pods filled with peas which we roasted in their shells but the plants were drying from the bottom, a sign of root fungus I think, so I dug them out and sowed more, but the same thing is happening to the new ones. I will need to find ones that are disease resistant next year.


Finally got the garlic after months of being in the ground. I don't know if I have the patience to grow garlic again! They could have stayed in for a few weeks longer but I couldn't wait.

Since tomatoes did pretty well last year, we are planting lots more and experimenting with some bigger heirloom varieties as well. We have squeezed them into pots, maybe a little too much but the fittest are producing well.

The first of the asparagus pea that we picked from seeds by vegseeds.net. Tasted nice cooked with butter but it did taste mainly of butter!

Wednesday, 28 May 2014

Mixed radishes

I've only bought radishes about twice in my life as I've never really fancy the spicy peppery hit they gave. But I was getting impatient since most of the plants I had chosen to grow had at least a two month harvest time and I wanted to find something that gave me results sooner. Most sources said radishes took about two weeks so that was enough for me to ignore my past memories to add them to my seed list.

Since I didn't know which type I wanted, I picked a mixed pack that said it had three different varieties from vegetableseeds.net. I sowed some in terracotta pots and some in the hanging baskets that nothing seemed to grow well in. Two weeks passed but the radishes were a bit small to pick but the following week, there were some nice sized ones. 

To my delight, the ones in the hanging basket grew faster than the ones in pots plus they were out of reach from slugs that chomped up their peppery leaves. A nice little surprise was finding not just three varieties, but six! There could be even more but to my untrained gardener's eye, I can only spot these different and beautiful ones.


Mixed radishes
Now to the other important bit, the taste. The sharp, slightly unpleasant kick when eating raw was still as I remembered, but when mixed into a salad with the thin slices soaking up the dressing, that kick mellows out a lot and provides a delicious accompaniment and a lovely textural crunch. My sister has been around for visit this week and have been adding radishes to the lavish salads she loves to make and they are now a little crunchy favourite we look forward to.


Salad leaves, apricot, radishes, raisins, almonds, pine nuts, olive oil, balsamic vinegar, honey, pepper, salt


Related Posts

Friday, 11 April 2014

How to save tomato seeds

I never bought tomato seeds (nor pepper/chilli) to grow because they are so easy to obtain from the actual fruit. Heirloom tomatoes can be very expensive to buy, so whenever I do buy them, I take the time to save their seeds. It's not as straight forward as chilli or pepper seeds which you can just knock out and leave to dry overnight, but it's not much harder. This is how I go about it.

When you have a nice specimen of tomato that you like (this one is a marmande tomato) remember to save its seeds before cooking or eating it which I have often forgotten!

Slice it down the middle and you should see its seeds. 

You don't have to remove all the seeds, just enough to plant, keep, or give to friends. Put in a glass/cup/jar and fill with water.

Some say to cover with cling film and leave for a few days until mould forms on the top but I didn't like dealing with smelly mouldy water so I leave it uncovered, and change the water every day. But before changing the water, I give it a bit of a stir so any tomato pulp loosens, tip out the old water, with the floating pulp, and add fresh water. Sometimes I do it two or three times if there is a lot of pulp. After about 3-5 days when the seeds look free of most pulp, give it a final good rinse, pour as much water away and take out the seeds.

I found the best place to dry them is on a large ceramic plate spread out as much as possible for quick drying. If there is a lot of water, you can raise one corner slightly so the water drains to one end and soak it up with a kitchen towel. Once the seeds are fully dried, which can take up to a week, they might stick to the plate but are easy to remove by "scratching" them off. (Which is why it is not advisable to dry them on paper like I learnt the hard way!) 

Store your seeds in a dry place, labelled nicely in a paper envelope or jar ready for the next planting season.

Friday, 7 March 2014

Free and simple garden planner

I've been wanting to bit a bit more organised with my terrace garden space and thought of drawing out what I should plant and rearranging the space as it has been neglected since the end of autumn. I was going to use Photoshop (my usual program for most artwork) but decided to look to see if I could find something online that was free, required no sign ups or downloads, and was far quicker than I could do using my existing artwork program.

And I found this ideal Garden Planner relatively quickly! I highly recommend it if you are thinking of drawing out any garden plans. It's pretty straight forward to use, just select the item you want, drag and drop it to your design board, adjust the width/height/colour to your liking, and keep going until it's all done. 


Saturday, 1 March 2014

Antique Frister Rossman sewing machine

Just before moving last year, I decided to sell my two vintage sewing machines, one was a Singer and the other a more unique Tiger with intricate decals. I did like using both of them but was always found it a little inconvenient to set up the foot pedal and electric plug which limited where I could sit to sew. Although it was a breeze sewing straight lines gassing on the foot pedal, I was always anxious about the maintenance of it should the electrics ever become faulty. I didn't fancy lugging them with me to our new home so sadly but gladly departed with them.

So my search for another began. I've been eyeing Frister and Rossmann's sewing machines since then, as I love the slightly more angular shape of them to the usual curves of the Singer. It was also a less common make which I liked, but also not too uncommon that I could still find lots of literature about them. Of course, I lusted after others, especially the beautifully shaped Wilcox Gibbs types but they are too much of a collectors favourite for me to ever afford.

After losing out to a few eBay bids over the year, my patience paid off and I finally won this little gem! 


The exact decal patterns I wanted, with a beautiful box cover and porcelain crank handle. I took it apart to clean and oil. It took a while to find an instruction manual but thankfully managed to find an original copy. 

So I've been playing around with its settings to get used to all and very happy with it!

Saturday, 22 February 2014

Grow a mango plant from seed

Another lovely plant to able to grow from seed is mango, a fruit which I love to eat and buy often. Its seed is not as easy to extract the avocado but despite that, I think it's worth the extra work and at the moment is my favourite house plant. Here are the steps I take.

 1. Eat all the flesh of the mango and keep the seed, or so I thought it was until recently, I found out it was the husk.

2. With a sharp thin knife, wedge it in the side, usually nearer the top stem is softer and easier to get into and pry the husk open. Inside you will find the seed! (Please take extra care with this step. Take your time and hold the knife away from you.)

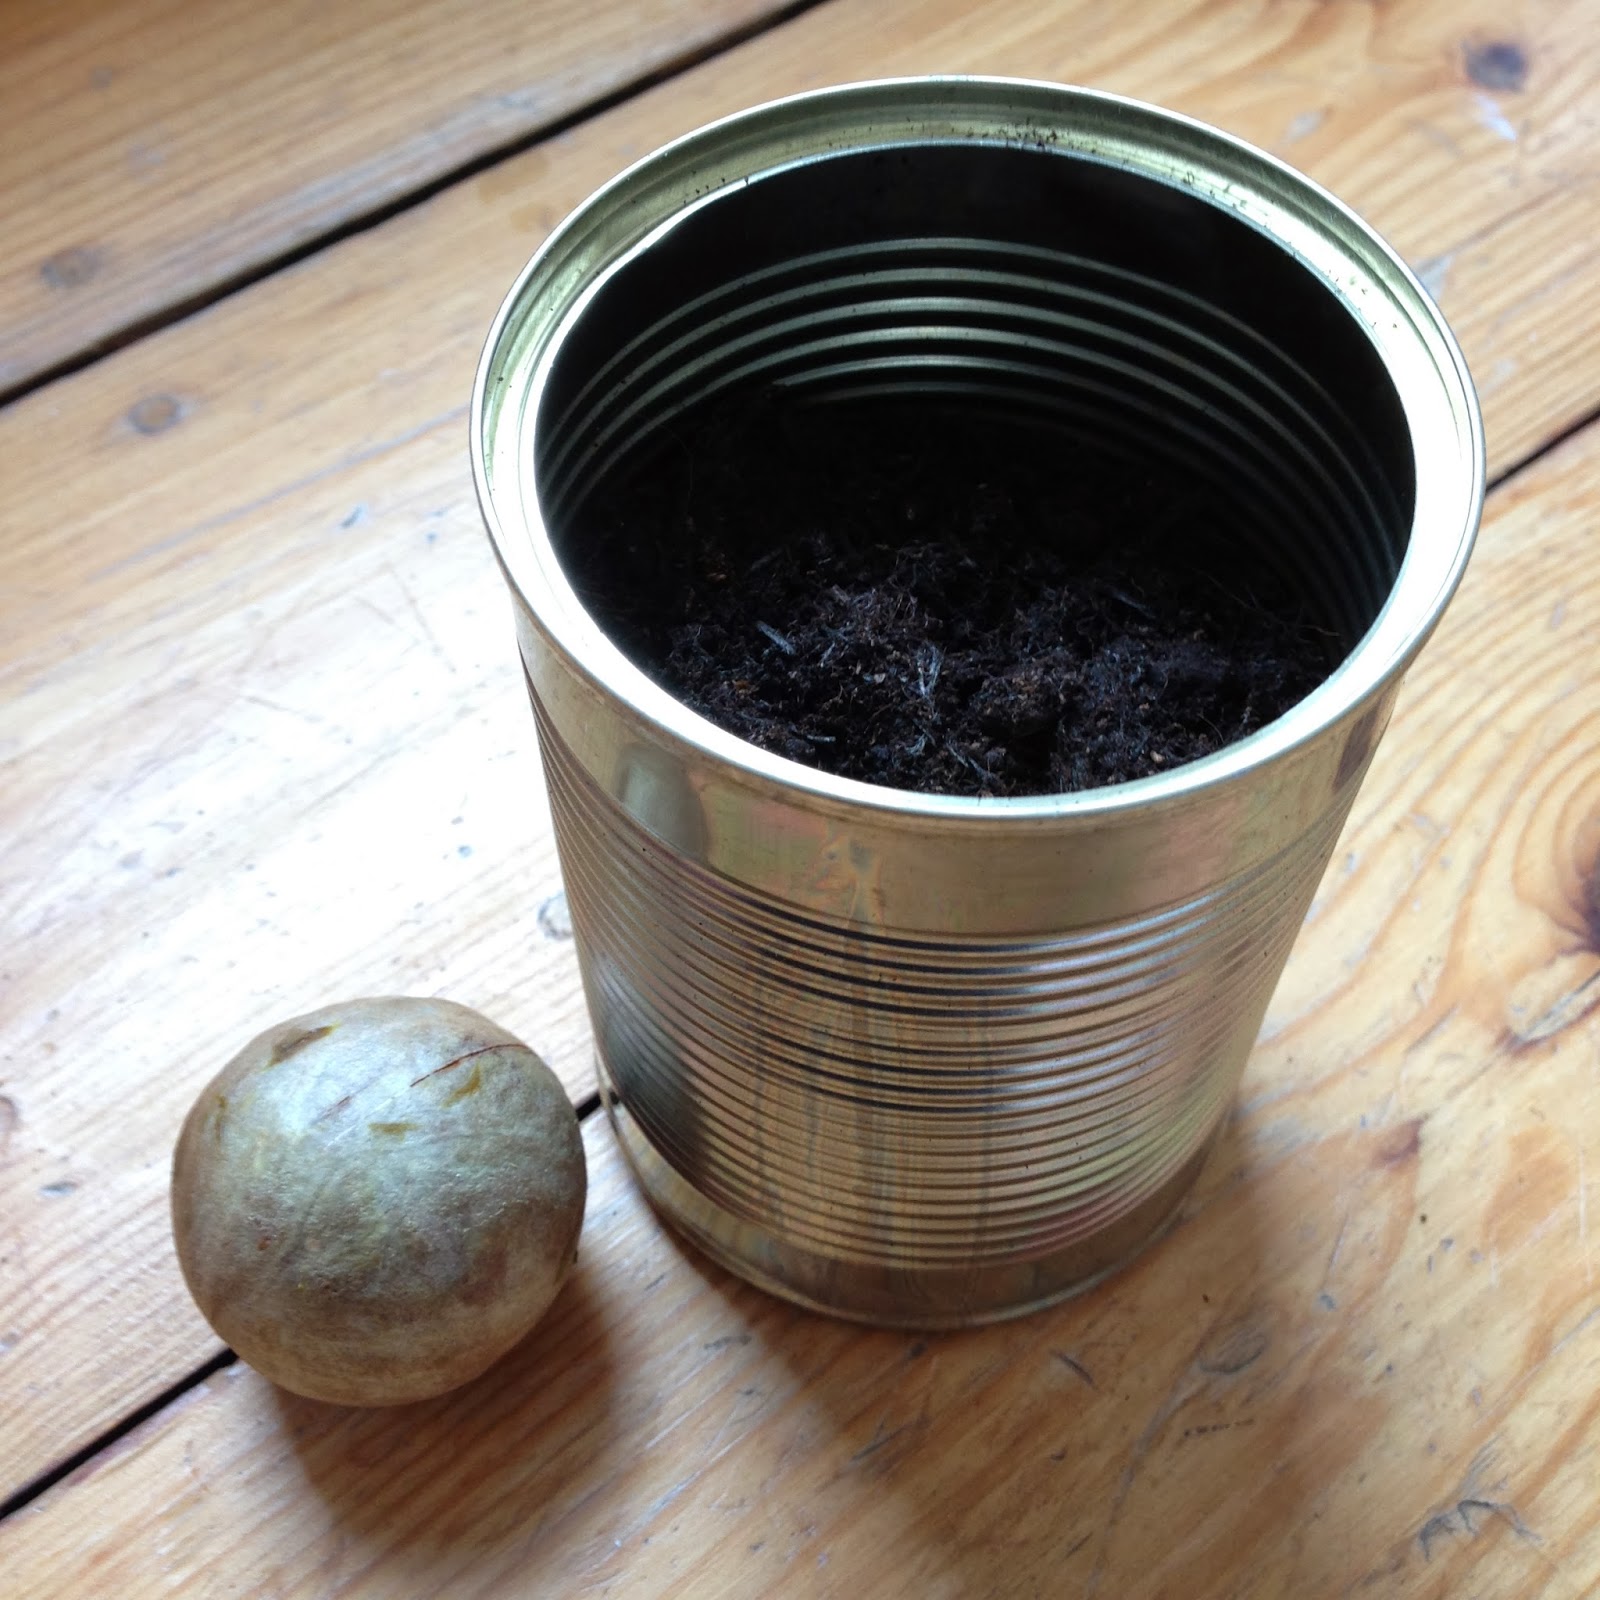
3. Take the seed out, fill a pot (or my usual container of choice, a used tin) with compost, pop the seed in and cover over with more compost. Water regularly and place in a warm spot.

4. In a month or so you should see a shoot with a few small leaves popping out of the soil.

And there is the start of a beautiful and free houseplant!


These are three mango plants I planted last year. They look very different even though they are about the same age but all look very healthy with thick glossy leaves, and new leaves have a lovely red tinge to them. They also have the fragrant smell of mango when rubbed!


Yogurt Scones

We made some scones  today from the recipe we usually use from a lovely book we have Short & Sweet by Dan Lepard. As usual, we amended the recipe just a little to use the ingredients we have in our larder.


Ingredients

  • 200g plain flour
  • 50g wholemeal/buckwheat flour
  • 2 1/2 tsp baking powder 
  • 3 tbsp sugar
  • 40g unsalted butter
  • 100g raisins
  • 1 egg
  • 75g plain yogurt
  • 2 tbsp of milk (for brushing)


Method

  • Preheat oven to 220°C/200°C fan.
  • In a bowl rub the flour, baking powder, sugar and butter with your fingertips into crumbs.
  • Add the raisins.
  • Beat the egg and yogurt together and stir in the flour.
  • Combine to a firm ball of dough and knead lightly for 10 seconds.
  • Flour the work surface, roll or press out to 4cm thick.
  • Cut into 4cm squares so you have a cube.
  • Place on non-stick baking paper, brush with milk, and place in oven.
  • Bake for 15-20 minutes until risen.

Saturday, 15 February 2014

Growing avocado from seed - without toothpicks!

I started experimenting with growing avocados from seed about 4 years ago when I was tired of spending money buying houseplants that would die after a few months. I had a few pots filled with soil so after doing a bit of research of what was easy to grow from seed, of the fruit and vegetables I regularly purchase, avocados were at the top of the list.

I started with the toothpick method (sticking toothpicks in the seed to enable the bottom half to sit in water) and never had any success with it so researched other methods. This one proved the simplest and most successful one so I have stuck with it ever since.  

1. Cut a fresh ripe avocado, remove the seed and wash any flesh off it. Some people leave it for a few days to dry out but I don't think it makes a difference to use it straight away.

 2. Get a small pot, or I usually reuse my tin cans and make a few holes at the bottom for drainage with a nail and hammer. But put it on a surface/draining dish that you would mind getting rust ring marks on.

3. Fill the container with soil.

4. Pop the seed, root side down (if the root is not obvious, it will be the bigger end of the seed). Fill with more compost until the seed is fully covered.

5.  Keep well watered and hopefully, a young seedling will emerge in a 1-2 months.


Some end up quite bushy with lots of leaves.

If they lack light they can grow quite leggy which I think they can look good in a shallow pot.

Good luck with growing your avocados from seed.

Saturday, 8 February 2014

Sourdough bread and butter pudding

We make bread almost every week and sometimes we don't finish it all before the next fresh load arrives so we sometimes do toss little ends away - which is such a waste! We did previously whizzed them into breadcrumbs but ended up not using them for months. But one day, wanting a slight change from our family favourite Apple crumble, we thought, why not try a bread and butter pudding since we did have quite a bit of bread to finish up.

We never did make it before because we always had in mind it was quite a heavy dessert, needing a lot of ingredients which we would normally want to use in our other dishes. Most recipes used quite a few eggs and we only had one we had to do a good hunt but we found a good simple one in the end! Which was anothergood thing because I never like using too many eggs in a dessert as I prefer to save them for my savoury dishes.

A serving of bread and butter pudding with a side of yogurt

As usual we adapted the original recipe just a little.

Ingredients

  • 300-400g of stale sourdough bread, sliced
  • 275ml milk
  • 55g butter, melted
  • 55g soft brown sugar
  • 1 egg
  • 1 teaspoon cinnamon
  • a handful of raisins
  • 1 apple, sliced or grated

Method

  • Preheat oven to 180C.
  • Sprinkle some raisins at the bottom of your tray. Place the sliced bread over the top to make a layer. Repeat this process to make at least 2 layers. If using sliced apple, distribute the slices.between the layers as well. Try not to have the fruit on the top as it will burn more easily.
  • Mix all the other ingredients in a bowl. If using grated apple, this can be incorporated here as well.
  • Pour the mixture over the bread and fruit.
  • Pouring in the wet mixture
  • Leave to soak for about 30 minutes.
  • Place in the oven and bake for about 45 minutes until the top is crispy and dark brown.
  • Serve whilst hot.

Sunday, 2 February 2014

DIY Plant Propagator (Year 2)

Last year was my first year of vegetable planting made possible because we moved to a flat with some outside space, but I started late as we moved in March and only managed to start sowing seeds in April. This year, I was determined to start as early as possible. So after the compost delivery arrived, I got to work popping them into green seed trays that I bought. Felt a bit guilty buying them since last year I was good and made little newspaper pots. But this year, due to wanting to get some produce earlier, I'm taking a shortcut.

Compost in seed trays
Still used the muji boxes that I used last year and I total love using them as I can stack them and shift them around following the sun to get as much light and heat to start up those seeds.  

Muji propagator boxes 

Here a few seedings doing well after a couple of weeks after.


Mixed salad seedlings


Cucumber, courgettes, french bean and tomato seedlings
Pea seedlings

Tuesday, 31 December 2013

Vanilla Kipferl

One of our many Christmas desserts.


Ingredients
100 g amonds
250 g all purpose flour
150 g butter
100 g sugar
1 egg
1 tsp vanilla extract
icing sugar to decorate

Method
1. Crush almonds as fine as possible.
2. In a bowl, combine the ground almonds and the flour.
3. Rub in the butter.
4. Add the egg, the vanilla, and the sugar and work the mixture with your hands until you obtain a homogeneous dough
5. Shape the dough into a rectangle, about 1 inch thick and place it in the refrigerator for about two hours.
6. After two hours, take the dough out of the refrigerator. Preheat the oven to 350 degrees and prepare a baking tray with parchment paper.
7. Divide the dough into several parts. Make rolls that are approximately 1 inch thick. Cut the rolls into 1 inch pieces, bend the pieces into the shape of a semicircle and taper the ends.
8. Bake for about 15 minutes until golden.
9. While still warm sprinkle the kipferl with confectioners’ sugar and let them cool down.

Saturday, 24 August 2013

Trailing plants

Finally after months of trailing leaves we are starting to get lots of beautiful purple flowers on out borlotti bean plants and some have started turning into pods. 

Beautiful borlotti bean flower

Borlotti beans emerging

The cucumber plants are also flourishing with lots of flowers a few cucumbers. This is the first one and I'm hoping the spikes will disappear as it gets bigger.

First cucumber emerging

Unfortunately the pea plants all shrivelled up after a few dry spells. But they managed to give a few pods which we dried to try again for next year. 

Dried pea pods

The bittergourd plant doesn't seem to be doing so well outside surprisingly but we have one indoors that is trailing nicely. Lots of flowers on both but none are fruiting.


Indoor bitter gourd plant

The butternut squash plants are doing okay. We aren't expecting too much as they were planted close together sue to the lack of space so it's a bit of an experiment. There are a lot of flowers as well but again, none have fruited.

Trailing plants are great fun. I love seeing them grow and train them to places I want them to go. Since we have slugs, its a good way to keep them from eating everything. Next year, green beans are on our list of things to grow.

First potato harvest

Growing potatoes were a bit of an experiment as we had some store bought heritage potatoes that had sprouted and we thought instead of throwing them out, we'll try to grow them. 

It was a bit frustrating seeing all the leafy green shoots but not been able to use them, plus not being able to see the growth progress of potatoes beneath the ground. But all was revealed at the end of July when we dug it all up consisting of the two heritage varieties of Shetland Black and the other one we can't remember! We probably could have left the Shetland Blacks to get a little bigger


Although it was a successful experiment, I'm not sure if it's worth growing them next year unless we have a large spare planter box.

But the potato plant also produced some fruit after flowering which makes me tempted to experiment growing from seed.


Friday, 12 July 2013

New found treat... broccoli leaves


We buy and eat broccoli pretty regularly so it was on the list of things to grow this year. What the shops and markets usually supply are florets so that's what we have been eating. Since we were growing our own and eager to try anything edible so we added them to our plate of dinner greens. Apart from the fact that they cook well, taste good, grow quickly and plentiful, the slugs also seem avoid them!


The florets are the flower head of the broccoli so won't show up for a while in our plot, maybe in a few weeks or even months. But I'm really happy eating the leaves and wonder what the farmers/shops do with their leaves. 


I hope they don't just go into a compost heap. I've seen them once in a while in our local farmer's market but I think shops should really start selling not just the florets, but also the leaves.